In this project, I’m going to create a few Glitch Boxes, and show you some techniques to get a little more glitch out of Reason. Though Reason isn’t built to be a glitch plugin, there are several ways you can connect things up to get some glitch mayhem from the devices. When you then combine them all, you can have yourself a field day playing around with the knobs, wheels and buttons and work them into your own compositions.
So here I’m going to provide 3 different Glitch Boxes (incidentally they are color-coded just for fun), and go over some of the techniques that I think make them unique. Before I start, let me point out that I’m not going to go through the process of creating the Combinators from start to finish. Rather, I’m going to use the technique I outlined in the “Creative Redrum” tutorial series, where I added 10 synths and used gate triggering from the redrum to play these synths. The synths are the main glitch sounds, and these can be anything you like. The point is how you can use those sounds inside the combinator, and how you can add stylistic effects to get more out of them.
So let’s start our glitch journey in Reason.
The file for this tutorial can be found here: Glitch Boxes. The zip file contains 3 Combinators inside an .RNS file, each of which is attached to a mixer. To hear one of the combinators, just mute the other ones on the mixer. They weren’t designed to be played together, however, this was the easiest way to provide them to you all at once. Feel free to save them as Combinator patches and/or use them as templates where you can add in your own sounds into each of the 10 different synths in each of the Combinators. Also, don’t forget that you’re not only getting access to 3 patches, but you’re getting access to 30 synth glitch sounds as well. Enjoy!
Glitch Box 1 (Blue – Thors)
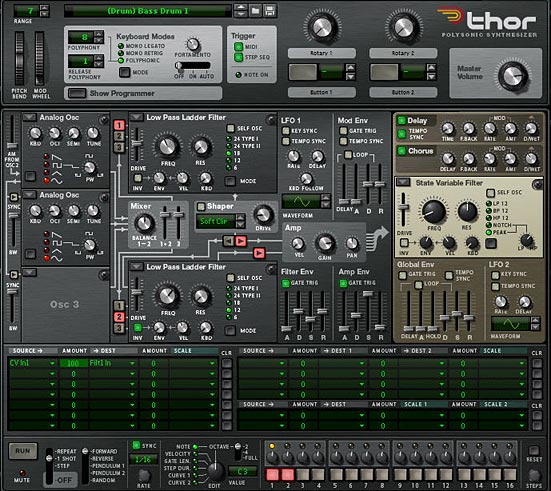
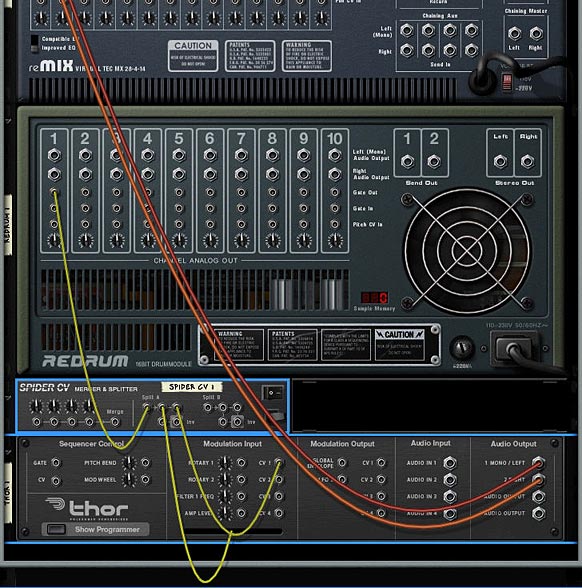
This Glitch Box uses 10 Thors to generate 10 different Glitch sounds, which are triggered by the Redrum Sequencer. The Redrum in turn has 32 patterns which are 64 steps each for a maximum Glitch mayhem. The interesting part of this patch is the way the Auto-sequencer is setup. By pressing the fourth button on the Combinator, the Auto-Sequencer kicks in and takes control to provide a very random output. It’s very easy to set this up. You just need to create a few Matrixes, and then send the Curve (or Note or Gate) CV into the Combinator CV inputs to control the overall playback of the Combi, or else any one of the Rotaries or Pitch/Mod wheels.
The rest of the Combinator patch is similar to the Creative Redrums 2 and Creative Redrums 3 tutorials, so I’m not going to delve into that right now. Please feel free to read through those tutorial in order to get familiar with the methods used to put together these patches.
Here is a rundown of how this Combinator’s Rotaries and Buttons work:
Pitch Wheel: This raises or lowers the pitch of the 10 Glitch sounds at once by +/- 7 semitones.
Mod Wheel: This dampens the sound of the Higher pitched Glitch sounds, essentially making things a little less sibilant.
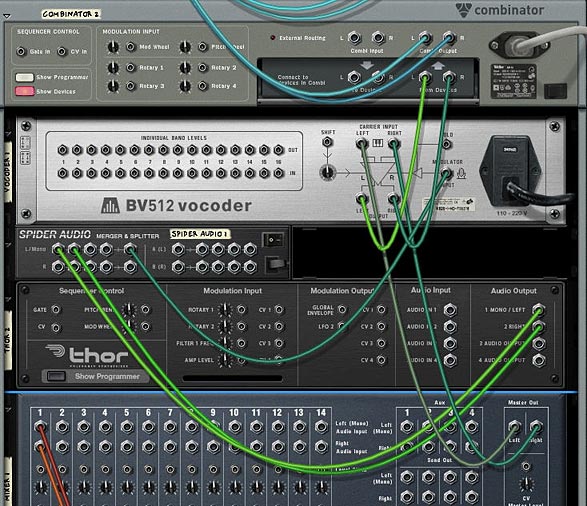
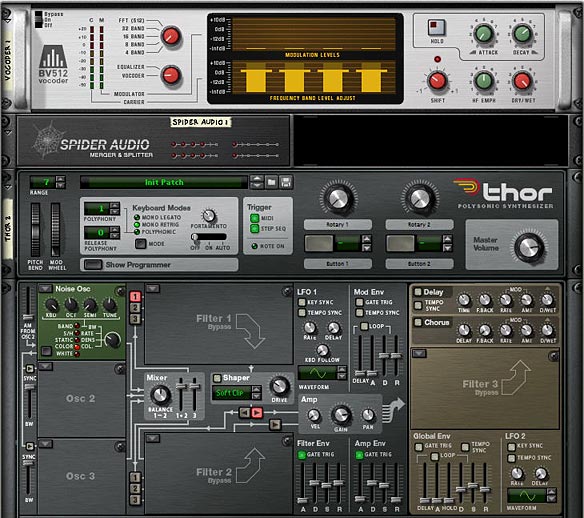
Rotary 1: Vocoder Filter – This Rotary affects the Thor Vocoder Modulation Filter. Use this knob to change the affect the filter has on the Vocoder. Basically, use this knob to dial in a sound filtering that appeals to you.
Rotary 2: Shift – This Rotary is used to raise or lower the “Shift” parameter of the Vocoder. Again, you’ll have to experiment with this knob to see what sounds best for you. You can also use it to create some interesting sweeps.
Rotary 3: Pattern Sequencer – This knob allows you to select from 32 different Glitch patterns (all with 64 steps each). If you want to turn the patterns off, you can by turing the Rotary completely left (at zero). This turns off the patterns entirely so no sound signal will get generated.
Rotary 4: Master Level – This is the Main Mixer’s master level. It allows you to fine-tune the volume of the overall mix.
Button 1: Doubler – This essentially doubles the Glitch sounds. Beware, it can add a ton of beats. But if you mute a few of the glitch sounds on the Mixer or Redrum devices, you can have some fun using this button to thicken up and beef up your beats by automatically doubling them.
Button 2: Alternate Filter – This adds a different filtered sound to the Glitch Box. It can be used to extend the Box to a whole new range of sounds. Experiment to see what you can do with this filter.
Button 3: Master Bypass – This Button will bypass the Vocoder FX as well as the Mastering devices. If you want a very raw sound, this is the button to press.
Button 4: Auto-Sequence – This button applies a random auto-sequenced element to the Glitch box. It not only acts as the note/gate CV for the Combinator, but also randomizes the first two Rotaries (the Vocoder Filter and Vocoder Shift parameters).
Glitch Box 2 (Red – Malstroms)
This Glitch Box uses 10 Malstroms to generate 10 different Glitch sounds, which are triggered by the Redrum Sequencer. The Redrum in turn has 32 patterns which are 64 steps each for a maximum Glitch mayhem. The interesting part of this patch is the way in which there are multiple Delay and Phaser units attached to the audio signal at the end. This creates a multi-tap delay effect which can be applied selectively.
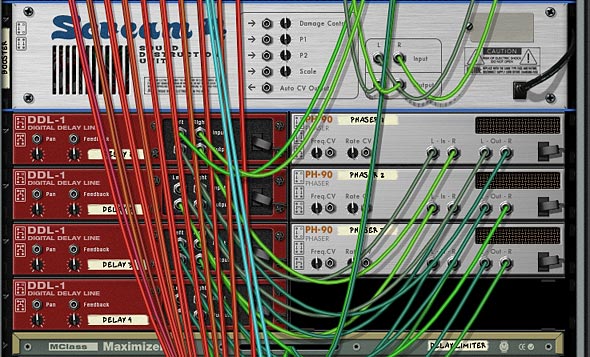
Here is a rundown of how the Combinator Rotaries and Buttons work:
Pitch Wheel: This raises or lowers the pitch of the 10 Glitch sounds at once by +/- 7 semitones.
Mod Wheel: This completely changes the type of sounds produced by the Glitch devices. Each Malstrom device was programmed to generate something totally wacky and off-the-wall when the Mod Wheel was used. So here is the result. Have at it!
Rotary 1: Vocoder Filter – This Rotary affects the Thor Vocoder Modulation Filter. Use this knob to change the affect the filter has on the Vocoder. Basically, use this knob to dial in a sound filtering that appeals to you.
Rotary 2: Shift – This Rotary is used to raise or lower the “Shift” parameter of the Vocoder. Again, you’ll have to experiment with this knob to see what sounds best for you. You can also use it to create some interesting sweeps.
Rotary 3: Pattern Sequencer – This knob allows you to select from 32 different Glitch patterns (all with 64 steps each). If you want to turn the patterns off, you can by turing the Rotary completely left (at zero). This turns off the patterns entirely so no sound signal will get generated.
Rotary 4: Multi-Tap Delay – This adds some multi-tap delay effect to the glitch sounds. The Rotary acts as a dry/wet knob, so turning it fully left turns the delay off (dry), and turning it fully right turns it fully on (wet). Be careful as it’s easy to overdo it, and sometimes if other parameters are turned on (like Booster), the delay can get pretty loud. Though I’ve tried to limit the loudness of the delays with a Maximizer device. Just be careful not to overuse. 😉
Button 1: Filter Type A/B – This changes the Thor Vocoder Modulation Filter from a simple Noise Oscillator to a different type of Noise Oscillator, and then adds in a Mixed sine Wavetable Oscillator into the mix. Try it out to change the sound entirely.
Button 2: Bands 4/32 – This switches the Vocoder Band count from 4 (not pressed) to 32 (pressed in). Use this to keep the sound thin with 4 bands, or thicken it up with 32 bands.
Button 3: Hold – This triggers the Hold button on the Vocoder. This can add some interesting unpredictible outcomes if pressed every so often. Or create a stutter effect by programming it to hold every bar, beat, or at random throughout your track.
Button 4: Booster – This adds some emphasis and warmth to the sound via a Scream device.
Glitch Box 3 (Green – Subtractors)
This Glitch Box uses 10 Subtractors to generate 10 different Glitch sounds, which are triggered by the Redrum Sequencer, just like the other Glitch Boxes above. There’s 32 patterns which are 64 steps long, again like the other Boxes. There are a few interesting things happening in this patch, which I’ll go through one at a time.
First, there are Scream Distortion units attached to each of the 10 sounds. The Screams are randomly sequenced to switch using the Matrix “FX Sequencer.” The Curve CV is cabled from this matrix to Rotary 4, which in turn is set to program all the Scream units to various degrees.
Second, there are two Digital Delay units attached to each of the glitch sounds. One unit is set up for the left, and the other for the right. Then they are merged together and sent back to the mixer. By changing the steps associated with each of these devices, you can set up some very complex delay patterns, which in turn enhances the “Glitch” element for each of the sounds.
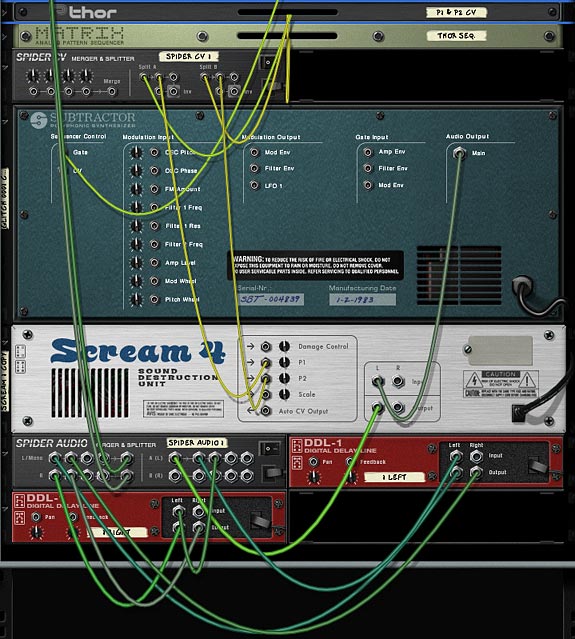
Third, Auto-Sequencing is set up so that there is an even more random element added to the box. Here, a matrix is set up for each Rotary as well as the Mod Wheel.
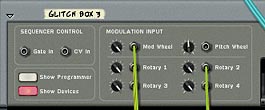
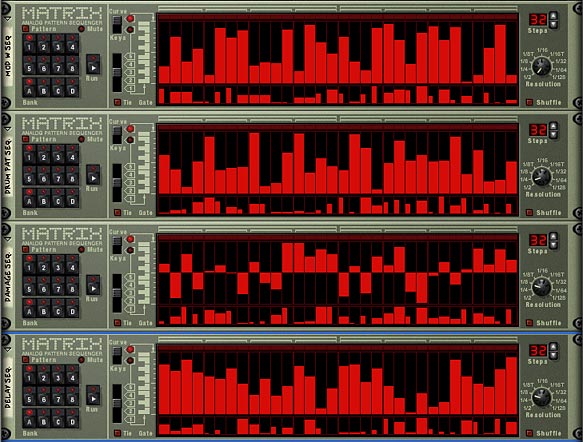
Fourth, there are a few other effects added into the Mix. If you’ve read some of the other articles, you’ll no doubt be familiar with ways in which the audio can be routed through Thor, and thereby use Thor’s filters on the audio signal chain. So I’ve added an alternate filter using this method. In addition, there are two Reverbs set up at the end of the signal chain in order to add a bit of room where the glitch sounds can feel at home.
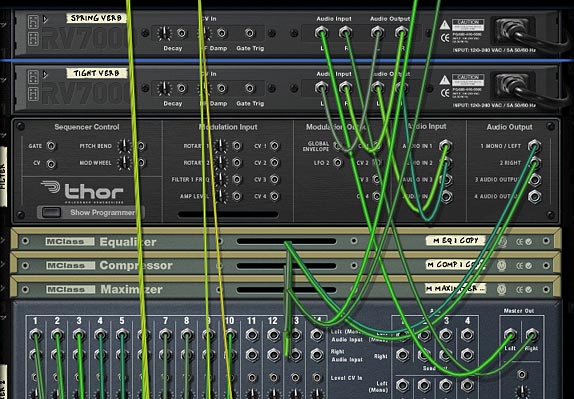
Fifth, and finally, The P1 and P2 parameters on the Scream devices are controlled via CV by a Thor device. The setup is that LFO1 controls P1, and LFO2 controls P2. So if you want to control these two parameters on every Scream device simultaneously, all you have to do is make changes to the LFO1 and 2 parameters in the Thor “P1 & P2 CV” device. This can help add some further Glitchy fun with the sound (especially when the Damage Type keeps changing randomly).
Here is a rundown of how the Combinator Rotaries and Buttons work:
Pitch Wheel: This raises or lowers the pitch of the 10 Glitch sounds at once by +/- 4 semitones.
Mod Wheel: This affects a few of the Glitch sounds, but not too much. It’s pretty much unassigned.
Rotary 1: Drum Pattern – This knob allows you to select from 32 different Glitch patterns (all with 64 steps each). If you want to turn the patterns off, you can by turing the Rotary completely left (at zero). This turns off the patterns entirely so no sound signal will get generated.
Rotary 2: Delay Dry/Wet – This Rotary allows you to apply Delay to the Glitch sounds in a very random way (depending on how the steps are set up in each of your DDL devices. I can only recommend that you play around with the settings in these units, especially varying the steps on each unit). The Rotary acts as a dry/wet knob, so turning it fully left turns the delay off (dry), and turning it fully right turns it fully on (wet).
Rotary 3: Damage Dry/Wet – This works the same way as the delay does (Dry/Wet), but this time the Scream’s damage knob is affected for all the Scream units. Be careful not to go too far overboard as you can end up making the sound pretty loud. I tried to limit it already a little bit by cutting off the amount of damage that can be applied, but it can still cause pretty loud signals. So just use it cautiously and always be on the lookout for your levels and clipping.
Rotary 4: Glitch Hi <-> Lo – This essentially will turn off the amount of randomness applied to the Scream devices “Damage Type.” The way the Screams are set up, the matrix controls the damage type and randomly shifts from one type to another using CV to control this knob. If you keep it fully left, the Screams are at their most random; receiving switching cues from the matrix. When the knob is turned fully right, the damage type will not change at all and will stay fixed. So this Rotary controls how much randomness is applied to the Scream Damage Type, or rather how much switching between Damage Types will take place.
Button 1: Spring Verb – This applies a spring reverb to the entire mix. Feel free to change the RV 7000 patch to anything that you feel suits this sound.
Button 2: Tight Verb – This applies a tight reverb to the entire mix. Feel free to change the RV 7000 patch to anything that you feel suits this sound.
Button 3: Comb Filter – This adds a comb filter to the entire mix to quickly change the Glitch sound. Feel free to change this in the Thor “Filter” device, if you like. It’s in the “Filter 3” slot.
Button 4: Auto Sequence – This button applies a random auto-sequenced element to the Glitch box. It randomizes the Mod Wheel, and first 3 Rotaries (Drum Pattern, Delay, and Damage).
I hope this article provides a few new ways you can add to your Glitch fun in Reason. There’s probably a million different ways you can add Glitch into your tracks. I know Ed from EditEd4TV fame has just come up with a beat repeater that is quite amazing and interesting to look at. Visit the PUF (Propellerhead User Forum) for more information. And if you have any other ideas for ways in which you can make Glitch come to life in reason, please let me know. I’m always interested to hear about your techniques. Don’t be shy. Share them! And until my next installment, have fun in Reason and Record.
Cheers.

