In this second part, I’m going to provide even more quick tips that can be used as food for thought while you develop your tracks. These aren’t earth-shattering or advanced. They are just some easy tips to help out with some problems you might have or tips that show you a few capabilities you may have missed. So let’s jump in.
Tip #1: Did you know this could be Automated? I didn’t.
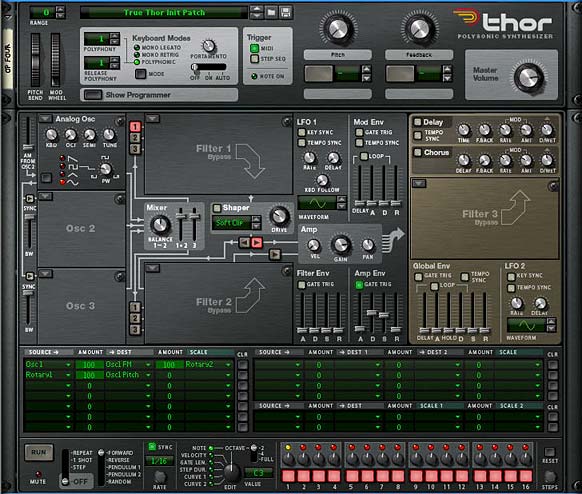
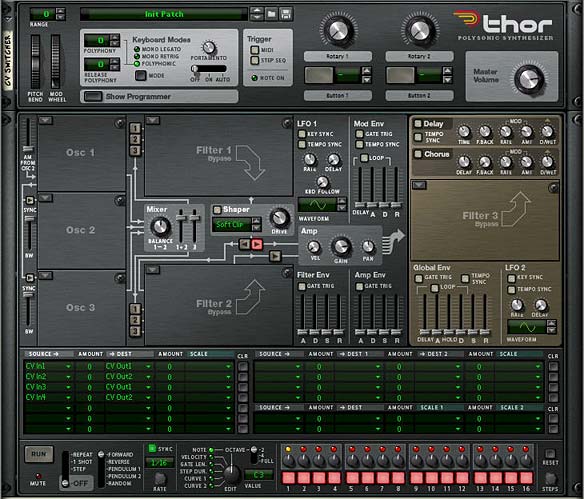
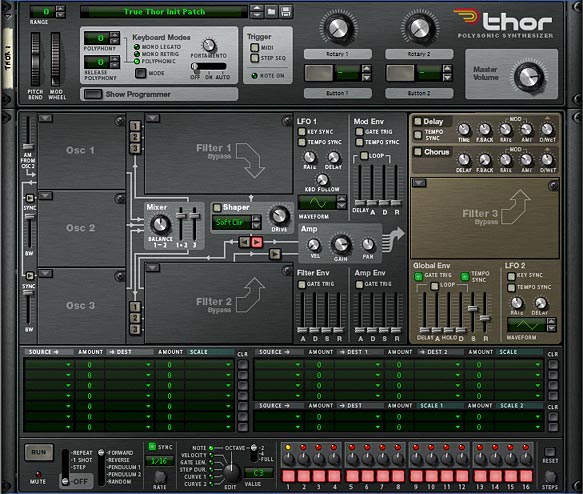
This is probably the simplest of tips. While I learned about a year ago that you can assign the Destination and Scale Amount parameters from Thor’s Modulation Bus Routing System (MBRS) to a rotary on a Combinator, I completely neglected to realize that you can indeed automate any of the “Amount” parameters directly in Thor. So for example, if you setup a Vibrato in Thor, it would look something like this:
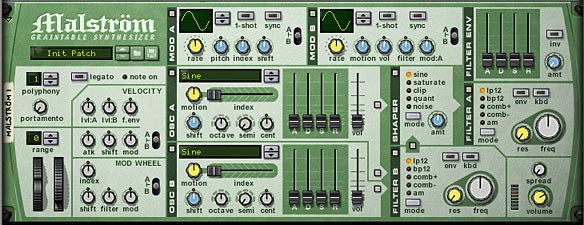
LFO2: 25 > Osc1 Pitch: 100 > ModWheel (Read Thor’s back panel — this is your basic Vibrato).
Great, but now, let’s automate that LFO2 amount so that the vibrato increases or decreases the pitch over time. Easy as easy can be. Simply right-click over the amount parameter on the front of Thor in the MBRS and select “Edit Automation.” Now you can automate the amount directly in the Sequencer. Pretty cool right?

Tip #2: Stealing unused CV from devices that are already there.
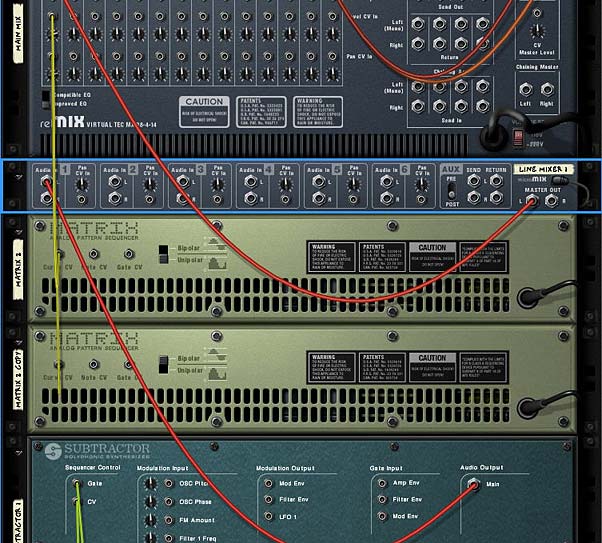
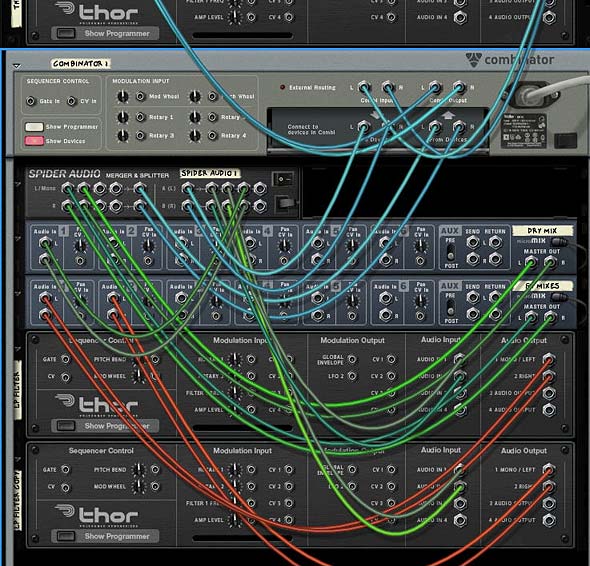
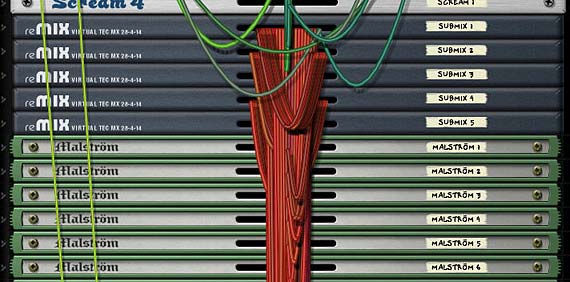
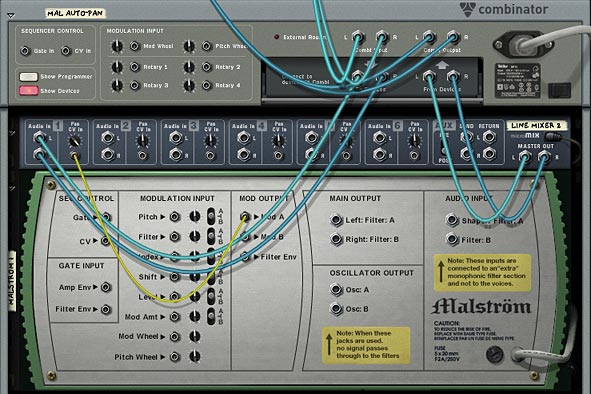
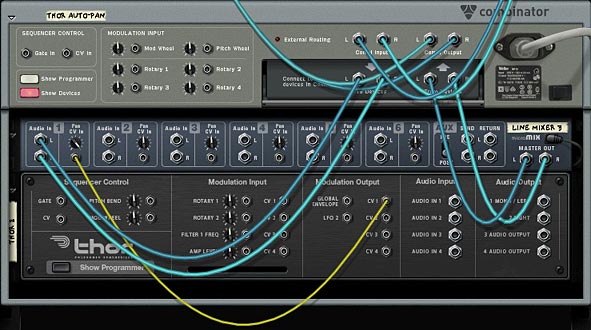
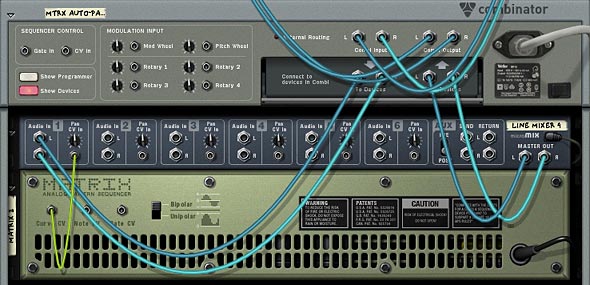
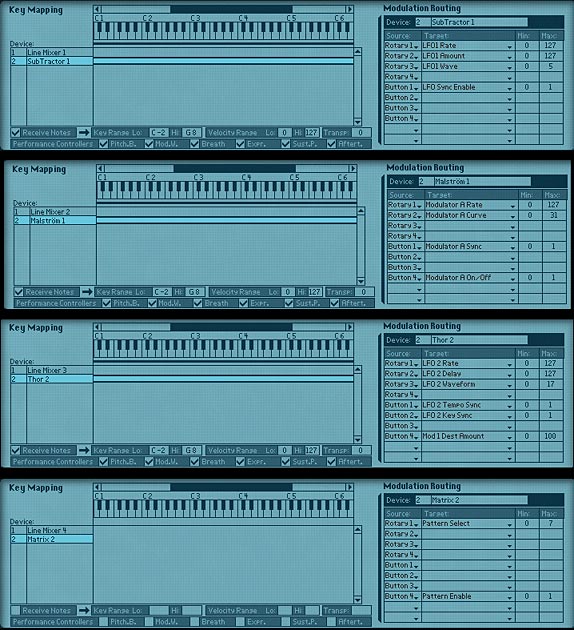
This is a great tip, and it’s one I use all the time. Let’s say you have most of the sound sources set up in your track. Now you want to modulate and automate parameters. Instead of creating new devices like the Subtractor, Malstrom, Matrix, etc. to modulate those destinations, why not steal modulation sources from the devices that are already in your track. This saves on CPU, and it means you ultimately have a less cluttered rack with less devices. The only thing you need to be careful about is making things overly complex, as it can get confusing quickly. But this is another trick I use all the time.
For example, if you have a Thor as one of your devices in your rack, you have access to a multitude of CV sources you can use to modulate other parameters and devices. Here’s just a few:
- Curve 1 in the Step Sequencer
- Curve 2 in the Step Sequencer
- LFO 1
- LFO 2
- Mod Envelope
- Amp Envelope
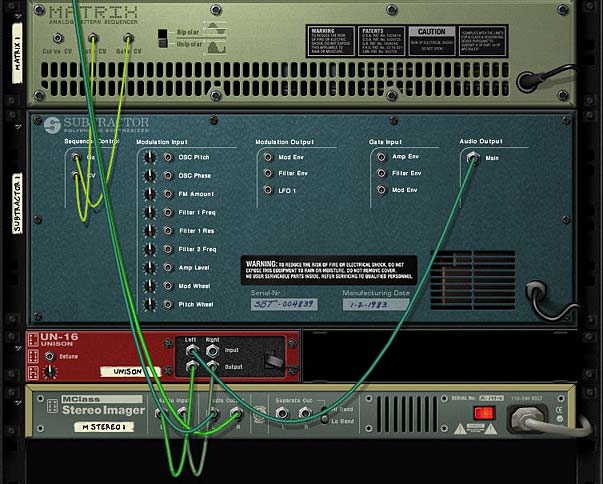
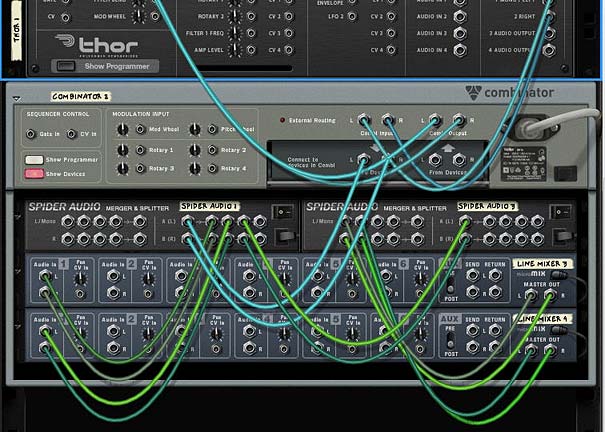
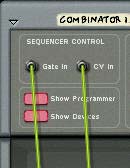
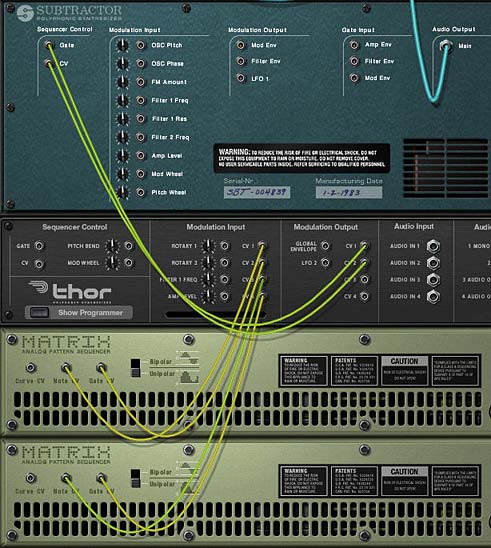
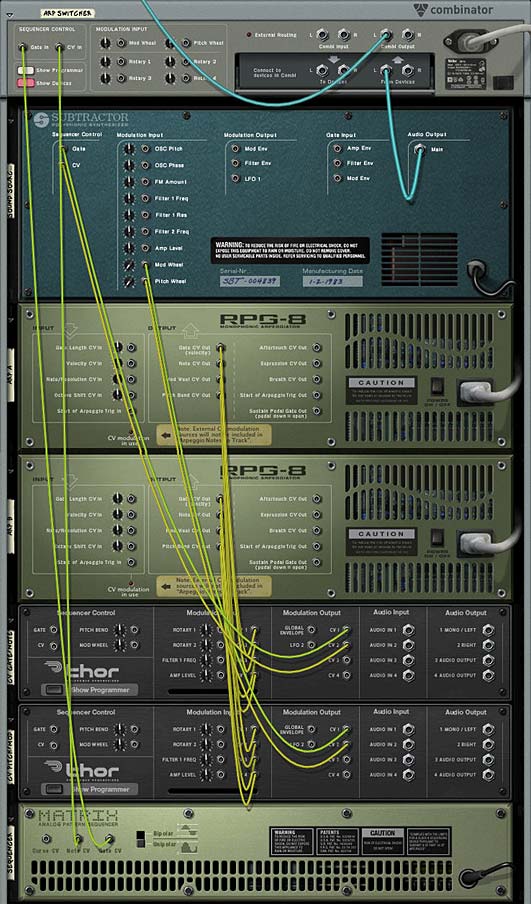
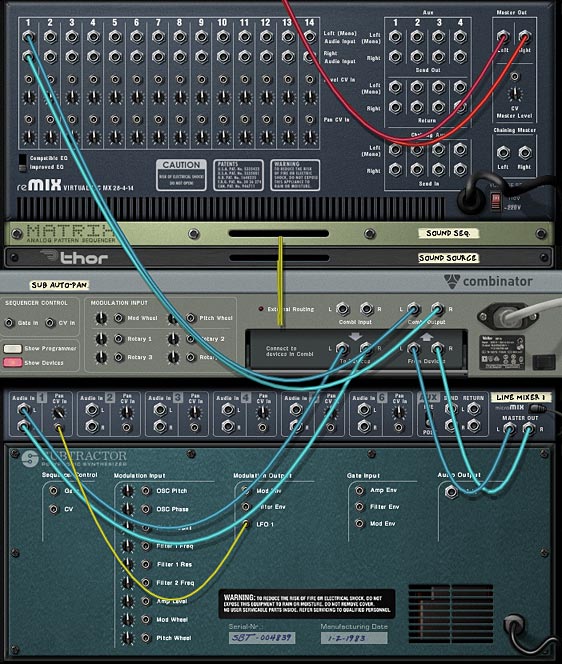
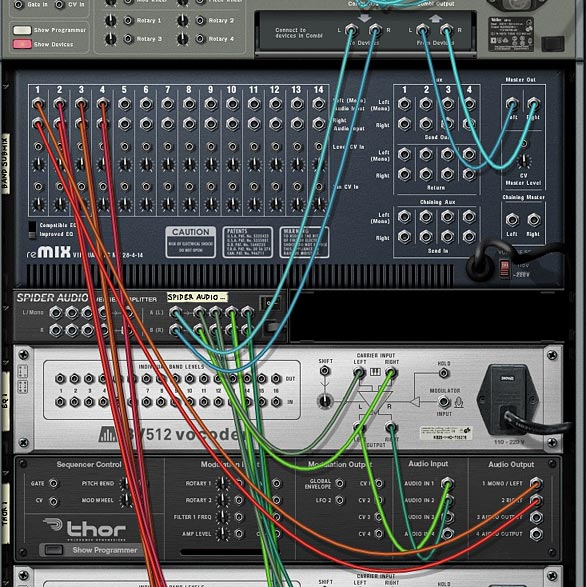
So if any of these are not currently being tapped for use by the Thor sound itself (and even if they are, you can still use them for other purposes), you can enlist them for CV duty anywhere else in your rack. Simply create the CV connection from the back of Thor to the destination CV input in the other device location. If you are using LFO2 or the Global Envelope outputs, then all you need to do is set up the LFO 2 or Global Envelope parameters on the front of Thor and you’re done. If you are using LFO 1 or the Amp envelope, you’ll have to set these up using the CV outputs on the back of Thor, and then setting them up in the MBRS. If using the Curves in the Step Sequencer, you can route the CV from the Curve CV outputs on the back of Thor.
You literally have an amazing supply of CV modulation sources all from one Thor device. So much so, that this may be all you need. You might not need to use the LFO from another Subtractor or the Mod A and B from a Malstrom, and you may not need to add a bunch of Matrix units. With Thor, you can keep everything contained in one location. And chances are that you probably already have a Thor unit in your track already. So save yourself some CPU. That reminds me to put together a tutorial on all the CV possibilities of Thor. hmmm. Perhaps in a tutorial down the road. More to come on this. . .
Tip #3: Add a Scream to shape your sound.
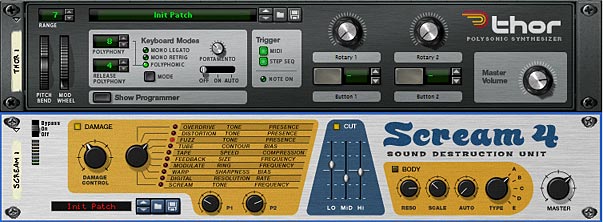
I have to say that this came out of watching Hydlide run through some videos about my latest refill. He had a really solid idea to turn pretty much any drum sound into a punchier kick sound. But this is also a nice trick to try out variations on your own sound and is kind of like the tip I showed you where we added a unison to give things a wider thicker sound. This time however, let’s add a Scream device after any sound source and just play with the settings until it shapes into a sound you like. Something a little beefier or meatier. And it only takes a minute or so.
The other added benefit to doing this is that you have access to a 3-band EQ using the “Cut” section. While this isn’t as powerful as the M-Class EQ, it does a great job for quickly sculpting the sound. So when you’re in a rut, try out a Unison on those thinner synth sounds, but try out a Scream as well, to sclupt your drum and bass sounds.
Tip #4: Turn your Combinator buttons into Radio buttons.
This tip came out of a request on the PUF (Propellerhead User Forum) where the original poster wanted to convert the Combinator buttons into Radio buttons. If you don’t know what a Radio button is, it’s ok. You’ve used them everyday in all kinds of software. Here’s a quick rundown: Radio Buttons.
You can download the template for this trick here: radio-buttons. The zip file contains the RNS file (and Combinator) which turns your Combinator buttons into radio buttons. Don’t pay too much attention to the synths at work here. They are just put there at random to highlight the difference in sound when selecting each of the buttons. I didn’t choose them for their stunning sound quality when played together (reset).
Now as all of you know, you can’t change the way the buttons work. They are toggle buttons by design, turning something on or off. So to turn them into a radio button is like taking a two-dimensional object and turning it into a one-dimensional object. It’s going backwards slightly. But there’s a good reason behind it.
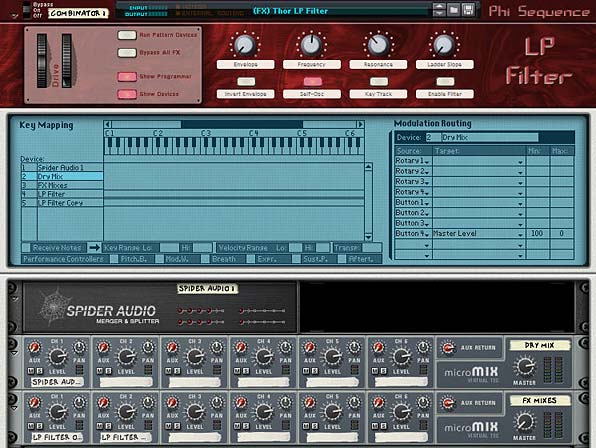
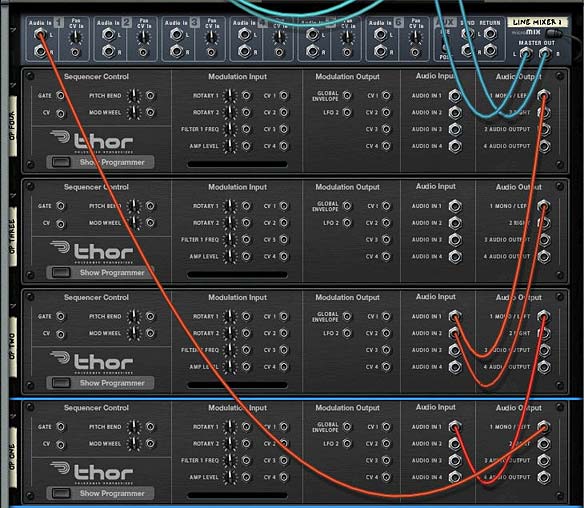
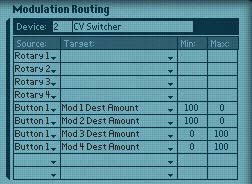
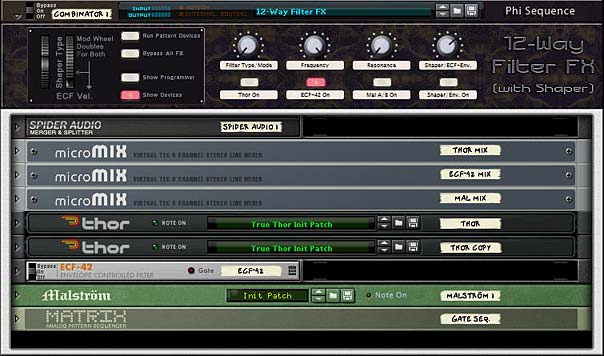
To start, you probably want to have the buttons trigger something. In this case, I’ll take something very basic like 4 synths tied to each of the 4 buttons. Pressing one button will trigger its corresponding synth. Pressing another button will trigger the next synth, and so on. So first create a Combinator, and inside create four 6:2 line mixers and four synth devices. And then tie each of the synths to its own line mixer by sending the audio output to channel 1 on each of the four line mixers. Then open up the Combinator programmer, and program the following:
Line Mixer 1:
Rotary 1: Master Level: 100 / 100
Button 1: Master Level: 100 / 100
Button 2: Master Level: 0 / 0
Button 3: Master Level: 0 / 0
Button 4: Master Level: 0 / 0
Line Mixer 2:
Rotary 1: Master Level: 100 / 100
Button 1: Master Level: 0 / 0
Button 2: Master Level: 100 / 100
Button 3: Master Level: 0 / 0
Button 4: Master Level: 0 / 0
Line Mixer 3:
Rotary 1: Master Level: 100 / 100
Button 1: Master Level: 0 / 0
Button 2: Master Level: 0 / 0
Button 3: Master Level: 100 / 100
Button 4: Master Level: 0 / 0
Line Mixer 4:
Rotary 1: Master Level: 100 / 100
Button 1: Master Level: 0 / 0
Button 2: Master Level: 0 / 0
Button 3: Master Level: 0 / 0
Button 4: Master Level: 100 / 100
You’re pretty much done. Now, the buttons act as rotaries. However, you’ll have to disregard the fact that they light up at all. The fact that they are enabled or disabled means nothing. The only thing that means anything is if you switch from one button to the next. Remember our analogy: we’re taking a 2-dimensional object and turning it into a one-dimensional object. There’s no toggling. It’s a straightforward button to button switch.
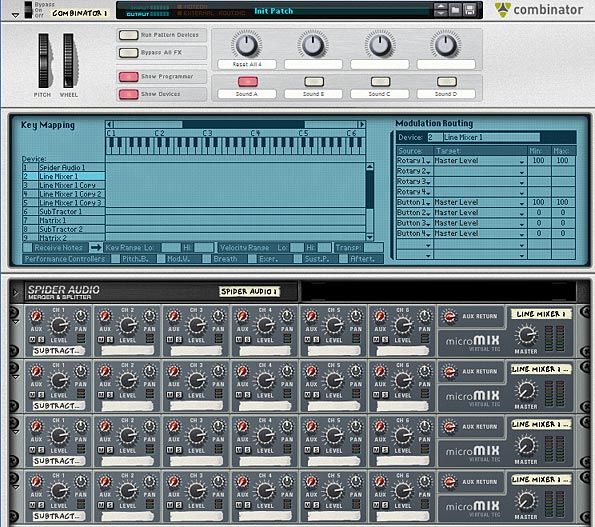
Also, Rotary 1 acts as a “Reset” button. Turning this rotary to any location will turn all four attached synths on at the same time. The reason I did this is due to the fact that when you start pressing buttons you will only be able to hear one synth at any given time and there was no way to “go back” to having all of the synths on at once. So I programmed the rotary to do this. As any good programmer knows, you should always provide a way to get back to the default. So this was my “Default” — however, if you don’t need it, you can remove the programming behind Rotary 1 if you really want to.
As always, I hope you enjoyed some of these quick tips. They are definitely fun to figure out and dream up. So keep the questions coming, and share some of your favorite tips with the rest of us. Happy Reasoning!

